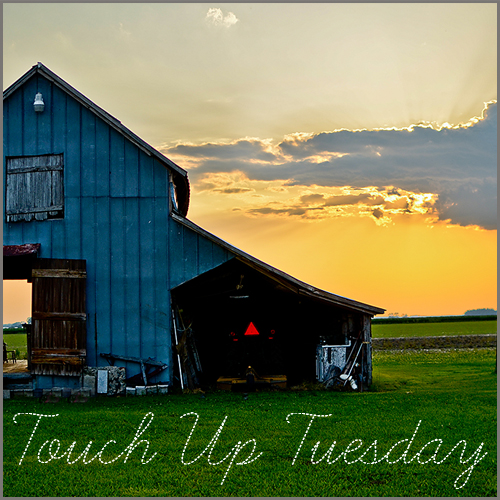
Kim Klassen over at Kim Klassen Cafe hosts a blog thing every Tuesday called Texture Tuesday. She even provides you with free textures if you sign up to her mailing list and of course I did! You can have lots of fun with textures when you learn how to manage your layers. Which I am still learning and pretty much lost the whole freaking time. Nonetheless I try. To me that is what matters. This week she wanted us to use 2 of her textures so I chose her Paper love
Then I chose the Shine
Then I blended them two together using overlay then I chose my image
And this is what I come up with
This is where my question come in, how come my image did not adjust to the size of the background texture?? This is where I get somewhat confused. Anyway I went on over to light room, cropped and messed with the lighting and my final photo is this,
When I was editing this photo earlier I knew I wanted to add a texture to it. I am satisfied with how it looks. How about you? And can someone give me some more "tutoring" on how come my image was not the same size? Why did I have to crop it?
A couple of hours later:
Okay guys I think I got it. I must have been having a total brain fart! Geez, when you put your image on top of another you can adjust the size right there. Ugh I feel like an idiot.
So I went about this again but I chose the textures simplicity and Shine and this is what I came up with this time.
THIS POST IS LINKED UP TO:


I would assume that you need to resize the overlays before you use them to match the size of your image.
ReplyDeleteMollyxxx
This comment has been removed by the author.
DeleteI think I figured it out!
ReplyDeleteI can total brain fart in PS a bunch! LOL Nice edit!
ReplyDeleteI really like your final image. The brown around the edges really brings the little boy out clearer. Nice job!
ReplyDeleteThe texture adds so much to your photo! Thanks for sharing.
ReplyDeleteLove it...especially when you fessed up on the brain fart bit...'cause I have far too many of them! The final product is wonderful!
ReplyDeleteVery pretty. The image you used is so sweet and worked well with the 2 textures you chose to use. - I believe that someone has already said this but you need to make sure that both your photo and texture are the same size before you overlay them. I use a Program called, Gimp (free) that allows you to do this. Also a simple way to overlay textures can be found on Pic Monkey.
ReplyDeleteLovely final edit!
ReplyDeleteBeautiful edit! Love it.
ReplyDeleteThe final product was worth all your trouble! Lovely use of textures. Maybe you had a tool other than the move tool chosen at first. Then you can't adjust the size of the overlay. Ask me how I know that one! Kim's classes have taught me so much! And I still have lots to learn. It's fun along the way, though, isn't it?!
ReplyDeleteLove the final outcome! (sometimes we have those bf's while working through a PS process!) :)
ReplyDeleteNicely done!
ReplyDeleteI like both results- very nice.
ReplyDelete